Author: Cork
So much fun, so easy and inexpensive to make!
We often made homemade safe and easy Play-Dough. When my son was just a toddler, I would sit him on the kitchen floor and let him play with a big plastic bowl, wooden utensils, my measuring cups and spoons and some flour or sugar while I washed the dishes or made a meal. He loved it! The flour is easy to sweep up (if you have a non carpeted room) or I could vacuum it away. Everything washed up easily and was safe for him to play with. As he got to be just a bit older, I had him help me make this recipe. I would have him measure (with my help) the ingredients and dump them into the bowl or plastic zip bag (again, with my help). Once it was thoroughly mixed, I would have him continue to mix it together with his hands so he was involved in every part of the process. What is nice it that if you do not have food coloring or if the child is too young or doesn’t care about the color, then you can skip the food coloring all together. Then, he was ready to play! I felt that there was nothing in this recipe that would harm him if eaten. Now days, we know better, you may choose to put the flour into the oven on a baking sheet lined with parchment paper to cook on 350 degrees for about 5 minutes to avoid contaminates such as E-Coli or Salmonella. But luckily, he never got seriously ill from it and he grew up and loves to cook and bake. Lucky me! I get to benefit from his joy of cooking and baking now.
Estimated time to make 5 minutes (10 minutes if you choose to heat treat your flour)
Here is what you will need for one Play-Dough type ball.
1-gallon plastic zip bag. OR, medium bowl
4 plastic sandwich zip bags. OR, small bowls
1 cup flour
½ cup salt
½ cup water
Gloves are optional.
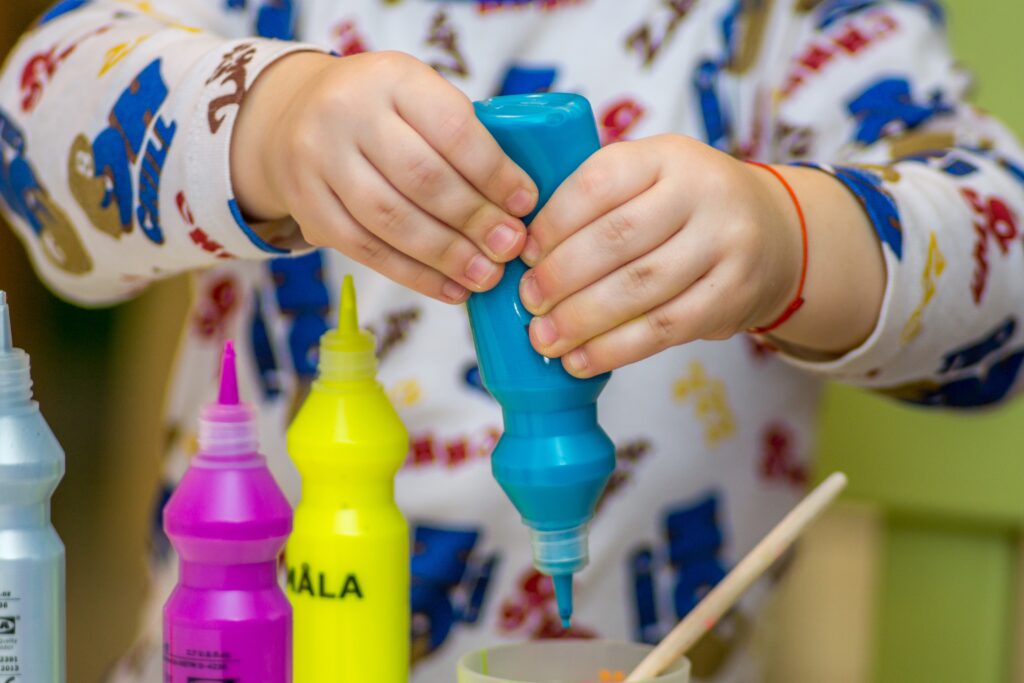
4 different colored food grade food coloring (Optional) Generally, 5 to 10 drops each color.
Mix it up
Mix that flour and salt together in a plastic zip bag. Then, gradually add the water to the dry mixture and kneed it thru the bag as you go. Toddlers would love to help you with this. Older kids can make this themselves. Now If dough is too wet, add a touch more flour. It should feel pliable and not too granular. Make sure to work out all of the clumps and lumps until smooth. At this point, you now have at least 3 options.

You have choices
1) You can either separate the dough into one ball per each color that you want. Then, put a ball into each one of the four plastic sandwich bags. Next, add food coloring until you get the desired colors. 4 colors = 4 bags of 1 dough ball each. I would suggest that gloves are worn during the food coloring is initially added if the dough is not going to be mixed in a plastic bag. You and your child(ren) will love this Safe and Easy Play-Dough toddlers can help make.
2) You can choose to just have the white dough and not add any color at all. You can split the dough into half and only add color to one of those portions. Or, you can break the dough in half then, split the other half into smaller sections to color separately. Use your imagination or let the kiddos decide how best to do this. Consider, some colors may be more popular and you may only need a small amount of another color. Therefore, tweak as needed.
3) Leave that whole ball in the plastic zip bag. Then, you can make more batches by repeating the steps above until you have as many full-size dough balls per color(s) you want. That way you have several large balls of different colors which would be great for more than one child. Two kids may each want their own pink ball and not want to share. So, you could either make each their own or split a color in half.

Easy clean up.
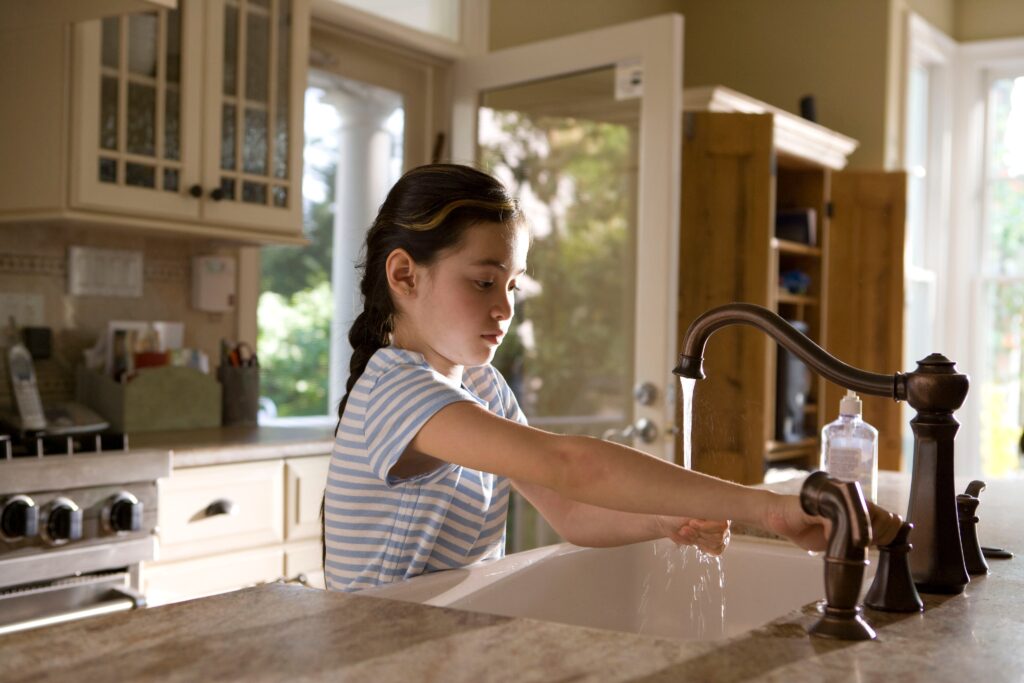
If you find any dough or food coloring on your hands, it should wash off with warm water and soap. But if you chose to go with plastic zip bags, that is likely not a problem. Once the dough and food coloring is well mixed, the food coloring will be absorbed by the dough and not get on anyone’s hands. Also, since you do not have to roll this out, or use a bunch of ingredients, the mess is minimal and the dishes dirtied are limited. Sounds like a win – win to me. I just love this Safe and Easy Play-Dough toddlers can help make.
The Play-Dough can be stored in the refrigerator for up to 4 weeks.
The best part is that it’s only flour, salt, water and food coloring (if you choose to add it). Therefore, it is safe if eaten, unless there is an allergy to the ingredients. You can use bowls if you choose not to use plastic zip bags.
See…I told you it was easy and admit it, it was kind of fun, right? Can’t wait to make more of this Safe and Easy Play-Dough toddlers can help make.
Something to think about
If you use bowls, you may consider ones with lids so you can go ahead and store it in that same bowl. Remember to use a utensil or gloves to avoid food coloring from staining your hands. Also, you can press your thumb into the dough ball and place the food coloring into that impression to make it easier to mix in that bowl or bag.
This is a quick, easy fun and cost-effective way to make homemade play dough at a fraction of a cost of the brand name. Plus, it smells better! You can always add a touch of extract to help it smell even better. You can add a drop of peppermint extract to the green ball, a drop of lemon extract to the yellow ball… you get the idea, now have a great time!
To help you I have included this post as a free downloadable to make it easy to have on hand. Post it on your refrigerator or place it in with your favorite recipes for safe keeping.